Sonar really shines with statically typed languages like Java and has some very useful analysis it can run for JavaScript projects: critical errors in syntax, code duplication, even test coverage. You can play with all these reports by installing Sonar locally. Thanks to Homebrew it’s not that hard.
Before you Begin
Make sure you have Homebrew installed and are on the latest version of Java. If you don’t update Java then you may run into issues when starting the Sonar server.
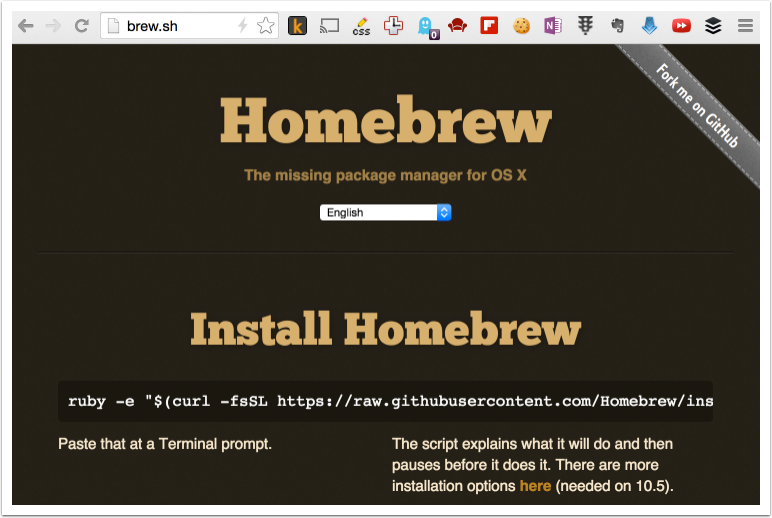
To install Homebrew follow the instructions at brew.sh.
To update Java follow the Stack Overflow instructions for How to Install Java 8 on Mac. (It’s pretty much brew cask install java.)
If you can’t change versions of Java then try out the rest of the steps and see if sonar will run for you. If not, you may need to maintain multiple versions of Java.
If you run into problems using homebrew, then use the brew doctor command to find out what’s wrong with your system. Follow the instructions it prints out to fix it.
Note: You may compare the steps listed in this guide with this blog article on installing Sonar on Mac. I found some of the steps unnecessary and don’t list them here. See also related guides: Get Started in Two Minutes, Installing a Plugin, JS Sonar Example, and Sonar Project Properties File Example.

Install Sonar and the JavaScript Plugin
Use Homebrew to install Sonar, then download and install the jar for the JavaScript plugin.
- run
brew install sonarin a terminal window - Find your sonar plugins directory. In my case it was
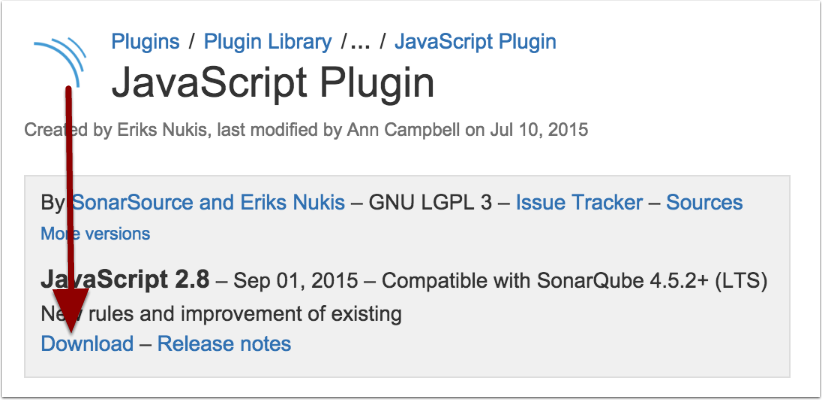
/usr/local/Cellar/sonar/5.1.2/libexec/extensions/plugins/. Yours will be somewhere ending with “/libexec/extensions/plugins” and you can normally figure it out by inspecting the output ofbrew list sonar. - download the JavaScript Plugin and put it into the plugins directory

Install sonar-runner and Modify Your Environment
Use homebrew again. This time install the sonar-runner formula. Finally, add a little to your .bashrc file.
- Run
brew install sonar-runner - Follow the instructions at the end of the install. (If you missed them you can always show them again with
brew info sonar-runner.) NOTE: I found that I didn’t have to modifysonar-runner.properties. You do have to add something likeSONAR_RUNNER_HOME=/usr/local/Cellar/sonar-runner/2.4/libexecto your.bashrcfile.
Configure and Analyze Your Project
You need to add a properties file to you project, launch the Sonar server, run the analysis, and view the results.
1. In a terminal window launch the Sonar server with sonar console. Leave it running. (You can kill it when you’re all done with “⌘-.”.)
2. In a separate terminal go to the root of your JavaScript project. Add a sonar-project.properties file like this one:
# Required metadata
sonar.projectKey=org.familysearch:fs-reservations
sonar.projectName=FamilySearch Reservations App
sonar.projectVersion=1.680

# Comma-separated paths to directories with sources (required)
sonar.sources=assets

# Language
sonar.language=js
3. In the terminal run the analysis with sonar-runner
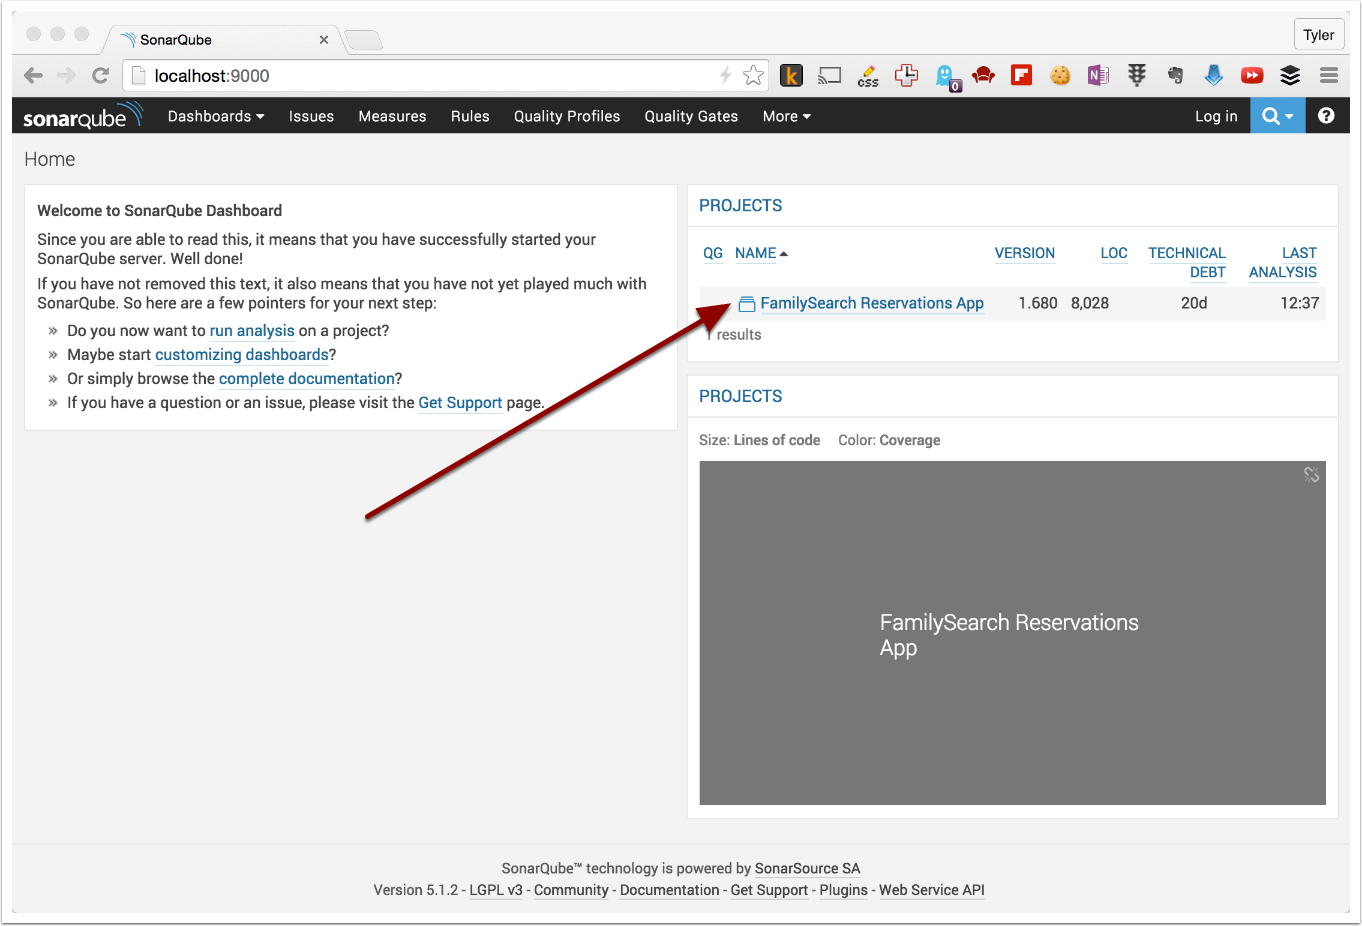
4. View the results by navigating to http://localhost:9000. Your project should be listed at the top of the right-hand column.

